Showing posts with label weaning. Show all posts

Sunday, 24 November 2024

Homemade Yoghurt


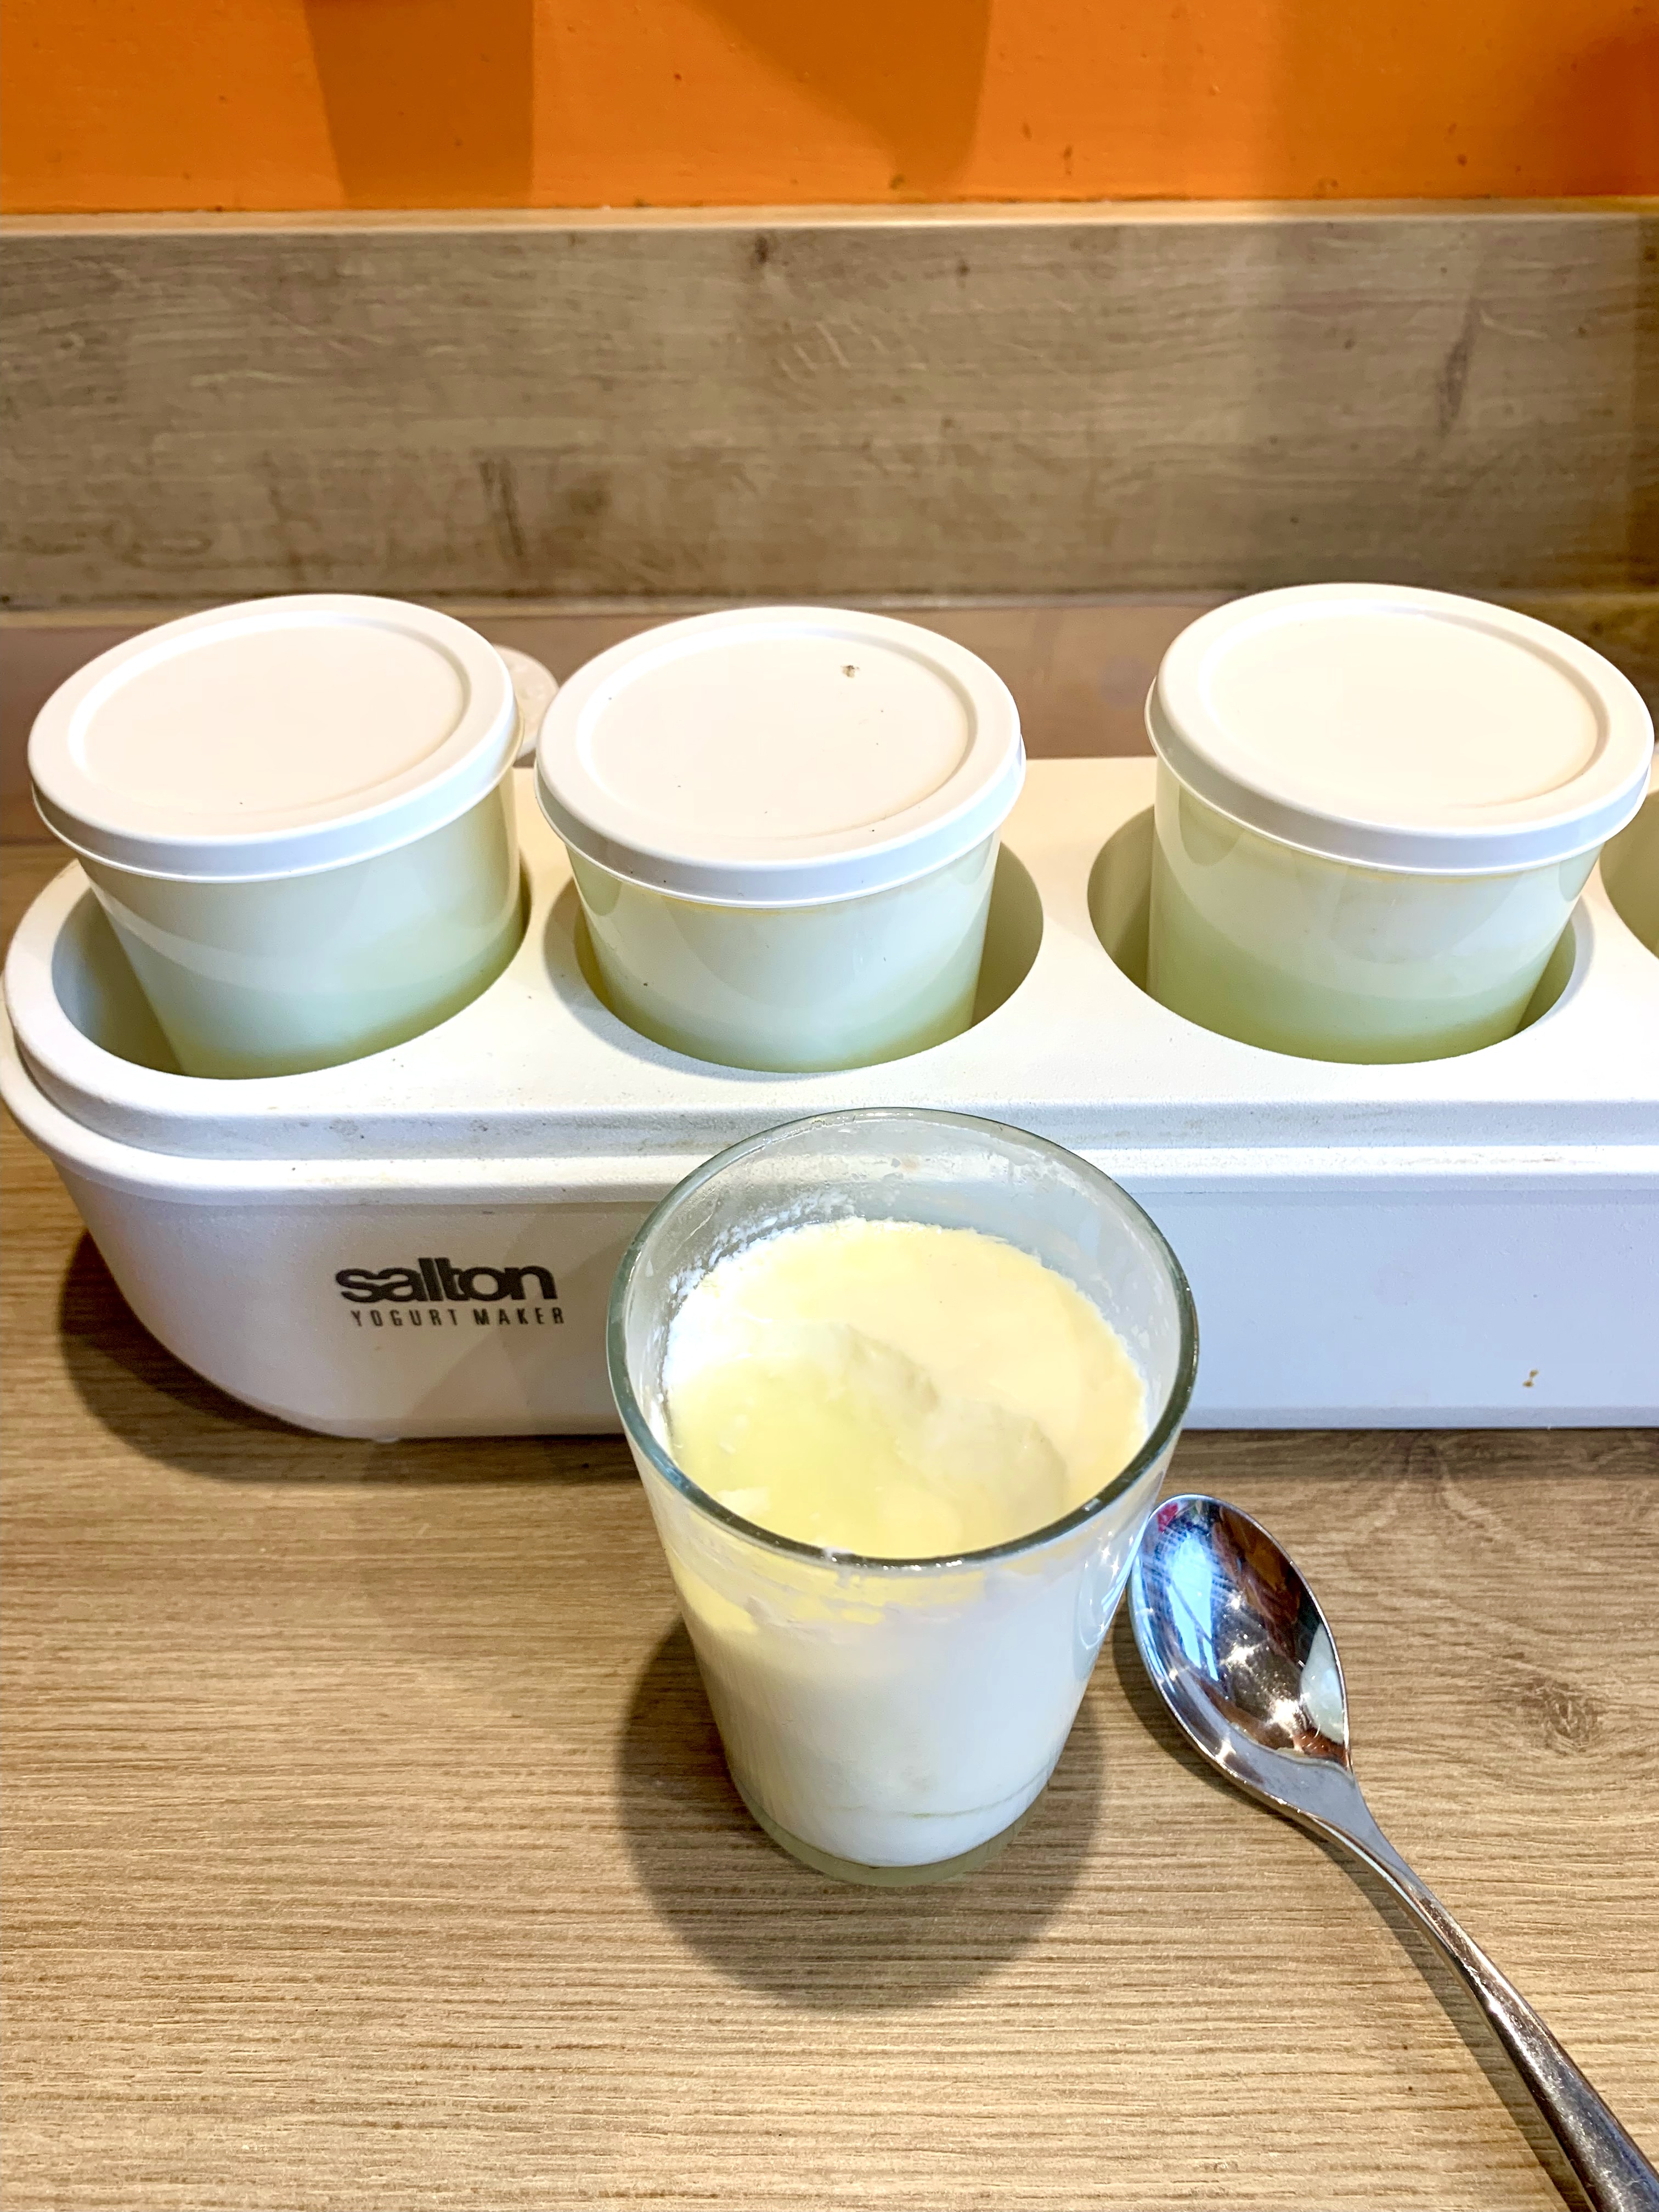
Yoghurt is a fermented food, which are great for gut health and long term health. I'm trying to eat more fermented foods, so thought I'd hunt out my old charity shop yoghurt maker and make some homemade yoghurt which is full of 'good' bacteria. 

Presuming you don't have a yoghurt maker it can be made in a vacuum flask, or insta pot with a yoghurt setting. Slow cookers don't work as they are too hot even on their lowest setting. Trust me, I tried and it didn't work!

10 minutes cooking time, 30 minutes cooling, 10-24 hours fermenting/setting

500ml organic whole milk (If using a yoghurt maker, measure milk by pouring into the container(s). Mine has 5 small glasses taking just under 1 litre of milk)
1 heaped tbsp organic greek yoghurt, or leftover homemade yoghurt

Heat the milk in a small non-stick saucepan over a medium heat, stirring now and then to ensure it doesn’t catch on the bottom of the pan, until it reaches 85°C on a thermometer (I used a meat probe). It should be steaming slightly but not boiling, and small bubbles starting to appear.

Turn off the heat, cover with a lid and leave to cool to 46°C, which takes about 30 minutes.  Stir regularly to prevent a skin from forming.

Mix the yoghurt in a small bowl or yoghurt maker glass with about 3 tbsp of warm milk, then pour back into the pan and whisk well to combine.

Pour into a 500ml flask warmed with mug of boiling water, or yoghurt maker, fasten the lid and leave undisturbed at room temperature or better still and airing cupboard for at least 10 hours.  It can be left for  up to 24 hrs for a thicker texture and stronger flavour. 

If you like it thicker still, it can be strained through a muslin, to make Greek yoghurt. Line a sieve or colander with cheesecloth (or strong paper towels) and place over a large bowl. Pour yogurt into the sieve and place in the fridge. Check every few hours until yogurt reaches your desired thickness.  The liquid that is drained out of the yogurt is whey. This is a great protein and works well in smoothies and soups.

When the yoghurt is set, transfer to a clean container and seal. It will keep in the fridge for up to 2 weeks.

I stir 1 tbsp chia seeds, 1 tbsp flax seeds, 1 tbsp mixed seeds, 1 tbsp porridge oats, and a small handful of berries into a small pot of homemade yoghurt for a filling breakfast, stir in fruit compote to made fruit yoghurt, add to curries, make raita with it, and so on.

Instagram: leesashomemade
Facebook: Leesa's Homemade

Saturday, 6 April 2019

Cream of Cauliflower Leaf Soup

Wednesday morning I walked into town to buy a little something for Dad's birthday, and found myself walking home with a crate of unwanted cauliflower leaves from the greengrocer.  As you do.

I do use cauliflower leaves like shredded cabbage in a Vegetable Dhal or Korma (substitute the meat for shredded cauliflower leaves), but with over 1kg to use I have so far made 2 large batches of Cream of Cauliflower Soup.

Makes 3l of soup - 6-8 bowls

1 large onion
1 large garlic clove, peeled and halved
500g white potatoes, roughly chopped
500g cauliflower leaf, roughly chopped
600ml milk
1200ml recently boiled water
3 stock cubes
1 tbsp olive oil

Optional flavourings: 1 tsp ground cumin, 1 tsp smoked paprika, 1 tsp curry power, 1 tsp garam masala.  I fried the onions for my second batch of soup in the oil I fried lamb kofta in, flavoured with both cumin and paprika.

Gently fry the onion in the olive oil in a large saucepan for 5 minutes.  Add the chopped potato and garlic and fry for another 5 minutes.  If adding any spices, add these now to warm and release their oil in the hot oil.

Add the rest of the ingredients, bring to the boil and simmer for 30 minutes.  Liquidise and serve.

Twitter: leesashomemade
Instagram: leesashomemade
Facebook: Leesa's Homemade

Sunday, 25 February 2018

Cauliflower Cheese Soup


Been meaning to make this soup for ages but one child has announced an avowed hatred of cauliflower, and of food being "too cheesy".  So made this Friday with all children safe at school, for two adults working from home.

Serves a greedy 4

250g cauliflower, cauliflower stalk, or cauliflower leaves, roughly chopped
250g potato, skin left on and roughly chopped
1 large onion, peeled and roughly chopped
1 small carrot, roughly chopped
1 stick of celery, finely chopped
1 garlic clove, peeled and roughly chopped
1 tbsp olive oil
500ml milk
500ml recently boiled water
2 vegetable or chicken stock cube
50g mature cheddar cheese

In a large saucepan, fry the onion in the olive oil over a medium heat until it starts to colour.  Add the rest of the vegetables including garlic and toss around in the hot oil and onions.

Heat the milk in the microwave for 2 minutes whilst the kettle is boiling.  Add the warm milk, boiled water, and stock cubes.  Bring to the boil, cover, and simmer.

After 20 minutes add the cheese and liquidise.  Serve with crusty warm bread, and maybe a drizzle of chilli oil.

Instagram: leesashomemade
Facebook: Leesa's Homemade

Tuesday, 13 October 2015

Bolognese/Ragu Sauce made with Leftovers


The leftover Pork & Stilton, Venison & Damson, and Cumberland sausages from the last BBQ of the year found their way into this ragu, which in turn was made into a midweek lasagne.  The meat part  of this sauce could equally be made with leftover roast beef or roast pork.

A food processor makes light work of all the vegetable & meat chopping.

1 onion
1 large carrot
1 stick of celery
1 clove of garlic
1 tbsp olive oil
2 large handfuls of leftover meat
1 tin chopped tomatoes

Peel the onion and carrot.  Roughly chop onion and garlic and process into a fine rubble in the food processor.  Fry gently in a wide saucepan to soften whilst you roughly chop and process the celery and carrot to a fine rubble too.  Add these to the pan once chopped.  Cover and sweat over a gently heat for 5 minutes or so whilst you roughly chop the meat and process this to a rubble.

Once the onions start to look translucent, push the vegetables to once side, turn up the heat a little and add the meat.  Leave it to sizzle for a few minutes before adding the tomatoes (liquidised if you like, as my kids prefer) together with a can of recently boiled water.

Bring to the boil and simmer with the lid of for 20-30 minutes and the sauce has reduced and thickened to your taste.  If using leftover roast you may wish to add pepper and salt to taste.  Using processed meat, I found there was no need to add any further seasoning.

Instagram: leesashomemade
Facebook: Leesa's Homemade

Friday, 20 September 2013

Baby & Toddler Friendly Curried Parsnip Soup


Yesterday was the first day that I truly felt a nip in the air.  Princess, who is recovering from hip surgery, and I discussed soups for lunch in the greengrocers.  And after dismissing Cauliflower Cheese Soup, we settled on Curried Parsnip Soup which is a sign that Autumn is really here.

The reason this soup is baby & toddler friendly is that is so thick.  It all but clings to the spoon enabling clueless kiddies to stand a fair chance of getting most of it in their mouth.  This is also of benefit to 10 year old Princess, as sadly her level of physical disability means she cannot feed herself.  This soup is also 100% hidden vegetables, and you can increase or decrease the curry powder to suit tastes.

Serves 4
2 medium parsnips
1 large potato
1 large carrot
1 large onion
1 clove of garlic
1 stick of celery
1 stock cube (vegetable or chicken)
Boiling water
Milk (optional)
1 tbsp sunflower oil
2 tsp medium curry powder

Roughly chop the vegetables.  As everything is pureed at the end of cooking you don't need to peel the potato or the carrot.

Fry all the vegetables for a few minutes over a medium heat to soften them and give them a bit of colour.  Add the curry powder, stir through and cook for another minute or so then add enough boiling water (or half water half milk) to cover the vegetables with about 2cm of liquid and the crumbled stock cube.  Bring to the boil and simmer for 20-30 minutes.

Liquidise and season to taste.  You can always add more milk or water to make this soup less thick if preferred.  I added a pinch of paprika to mine but left Princess' plain.

Twitter: leesashomemade
Instagram: leesashomemade
Facebook: Leesa's Homemade

Tuesday, 21 May 2013

Portuguese Bread, Coriander, Garlic & Egg Soup


I first came across a version of this soup in a hole-in-the-wall restaurant in the backstreets of the Bairro Alto district of Lisbon, famous for the Portuguese 'lament' style singing - fado. I don't think I ever knew the name of the restaurant, and on regular occasions took ages to find it in the maze of backstreets when trying to show it off to visitors from Blighty.

The soup in this restaurant was watery in texture but packed full of the flavours of coriander, garlic, and olive oil.  When I eventually found a version of the recipe for this soup in print in 'The Taste of Portugal' by Edite Viera it included stale bread.  Using stale bread to make a porridgy style soup is a Portuguese speciality.  Portugal is historically a poor subsistence economy, and 'açorda' (pronounced ass-orda) was a simple peasant dish of rehydrated stale bread beefed up with whatever strong flavours could be found.  It apparently continued to be popular until relatively recently as a stand-by meal for feeding infants!  The 'Sopa Alentejana' I found in the backstreets of Lisbon hailed from the Alentejo, one of the poorest and most barren regions of Portugal despite bordering the Algarve to the south.

Despite it's more common association, in this country at least, with Thai cooking, fresh coriander is a common ingredient in Southern Portuguese cooking too.  But this soup can be made with paprika instead if fresh coriander can not be found.  Do not use coriander seed!!!

The egg can be left out if preferred.

Serves 1

2 large crusts of stale bread, white or wholemeal
1 clove of garlic
1 tbsp extra virgin olive oil
2 large pinches of sea salt
1 tbsp chopped fresh coriander or 1/4tsp smoked paprika
1 free range egg
1 mug boiling water

Beat the egg in the soup bowl of your choice, then add the bread broken as small as you can together with the other dry ingredients.  Pour over a mug of boiling water and stir to cook the beaten egg.  Leave to stand for a couple of minutes for the bread to soften then tuck in.

If undercooked egg is something that concerns you, you could always microwave the soup for 1 minute, or heat it in a small saucepan, or poach the egg in the mugful of water and pour this gently over the other ingredients and leave to stand.

Twitter: leesashomemade
Instagram: leesashomemade
Facebook: Leesa's Homemade

Sunday, 12 May 2013

Spinach or Swiss Chard Pasta Sauce

Sprout, and now Big Boy, love Green Cheesy Rice.

Green Cheesy Rice is a dish/name that came about when Sprout was about 2 or 3 years old.  I was at a loss what to give her for lunch, and on a whim whizzed up a big handful of Swiss Chard from the garden (wilted slightly in a pan with some olive oil like cooking spinach, a small clove of garlic, and a handful of Mature Cheddar.  When she asked what it was, I was fearful of mentioning the name of a vegetable (based on previous experience), so I simply told her it was green, cheesy, and had rice in it. And the name stuck.

The resulting green puree looks singularly unappetising.  Almost exactly like something you'd fish out from a pond on the end of a stick.  But it is truly delicious stirred through cooked rice or pasta.

Sprout is now 7 1/2 and asked for this the other week, eagerly backed up by her 'baby' brother (nearly 5) .  I guess it is comfort food for them, as the sauce gloops the rice together and makes it a toddler spoon friendly meal - no tricky cutting or even stabbing for tired school children.

Princess, however, pulled a face when I told her the plan for Green Cheesy Rice.  I don't know whether it is her blindness or her cerebral palsy which makes her dislike the texture of rice (funny though - she wolfs it down swamped in curry sauce) but seemed delighted when I offered to put the sauce over pasta for her.

I usually make this with Swiss Chard, but it is too early in the year for my seedlings to amount a meal yet so I used a big handful of baby spinach leaves from Riverford.

Spinach or Swiss Chard Pasta Sauce
1 big handful of washed Swiss Chard or Spinach
1 small garlic clove, peeled and roughly chopped
1 handful grated mature cheddar
1/2 tbsp olive oil

Soften the chard/spinach in a pan with the olive oil for a few minutes over a gentle heat.  Put the wilted veg into a blender cup with the garlic and cheese and any juices from the pan.  Puree until smooth.  Stir into hot pasta or rice.

Saturday, 30 March 2013

Baby & Toddler Minestrone Soup

I remember we very often had soup for lunch as a child and it is something that came into it's own for me when I began weaning my children, now aged 10, 7, & 4.

On my own in the house at lunchtime weaning a young baby I found the easiest thing to do was to make a thick soup, and then either thin it down a little for my lunch or thicken it a little with baby rice or Ready Brek for baby.

The soup that has stayed the test of time is Minestrone, my recipe for which is here.  It is such a nutritious and filling soup, full of root vegetables, leafy greens, pulses, and of course pasta.  We started the kids off by pureeing the soup, firstly when they were weaning, but also with their budding self spoon feeding.  And thickened to a almost stiff wallpaper paste consistency with baby rice, it stays on the spoon pretty well regardless of the jaunty angle they wield it at! 

Now my kids love Minestrone lumpy now, happily picking out and identifying all the ingredients.  In any other meal with carrots Sprout tells me she hates them, but the 1cm lumps of carrot in Minestrone seem to be invisible.  I only had the opportunity today to photograph it pureed because Princess, who is still spoonfed at 10 because of her severe cerebral palsy, is feeling a little under the weather and needed a bit of easy to eat comfort food